Saturday, December 31, 2011
The 365 Day Plan
My New Year's Resolution...to keep my camera off automatic! I'm going to continue studying 31 Days to a Better Photo (I started months ago...I guess it's taking me longer than 31 days!) In an effort to be successful, I'm committing to the 365 Day Plan. A picture a day...all year...and this year, leap year...I get to post 366 days. So starting tomorrow, I'll be posting a picture a day taken NOT on auto :) I'll be taking hints and suggestions from this website and from Picaboo. No promises...I may miss a day or two. I will not post daily (I'll do catch-up when I have time). But I will continue on. I really do take pictures just about everyday anyway...now I'll be doing it NOT on auto and hopefully improving. Happy New Year!
Thursday, May 26, 2011
Day 5: Aperture - My Notes :)
Aperture means opening - how big does the shutter open when the photo is being taken.
Small number = Big Opening = Allows in more light = Less time required for correct exposure = shallow depth of field.
Big number = Small Opening = Reduces amount of light in = More time required for the same exposure = wider depth of field.
Depth of field is the distance, or depth, of your picture that will be in focus.
In summary...as nice as it is to understand what the camera and the lens are actually doing (the lens opening, focal points, amount of light, yada, yada, yada) I'm going to focus on what I need to remember at that moment to get the desired photo:
Small Number = Small amount in focus
Big Number = Big amount in focus
Now it's time to go play :)
Thursday, May 5, 2011
Practice with the TV
TV stands for time value (this is me reminding myself...say it again - TV stands for time value!) It's been a busy week but I am going to plug through this and use my camera in modes other than "green square!" Twice I did take a moment and mess with the TV setting to see the effect. I am starting to understand it but need lots more practice...This "31 Days to A Better Photo" is going to take me months!
Here are some shots of four-eyed fish at Sea World. Bare with me, it was a dark room and aquarium shots through glass are more complex than merely changing the TV but I did just that, and although I didn't get a fabulous shot, I am learning the effects of this mode.
1/5 - a good amount of light but too slow a shutter speed for the camera to be handheld - I needed a tripod for this shot 1/25 - a good amount of light and fast enough to not have too much blur. This was the best shot overall (they are crazy fish with half their eye above water and half below - see them there?)
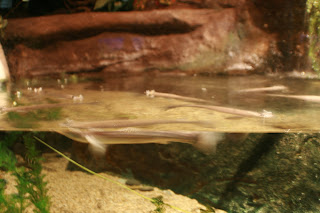 1/125 - too fast, not enough light
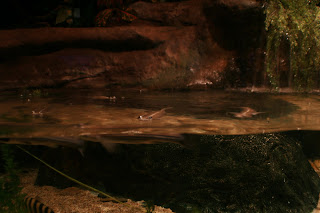 1/500 - way too fast, not enough light
 I didn't note the TV for the next two but I really think they are a good example of what my Camera Manual describes as blurred vs. frozen action shots controlled by the TV mode. A slower shutter speed lets in more light and gives a blurred action shot, a cool effect if that is desired (would be a better pic if her head was turned!)
 And the faster shutter speed lets in less light and I got more of a frozen action shot, much more crisp detail in this picture.
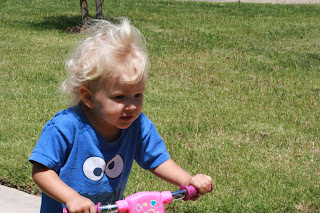
1/25 - a good amount of light and fast enough to not have too much blur. This was the best shot overall (they are crazy fish with half their eye above water and half below - see them there?)1/125 - too fast, not enough light1/500 - way too fast, not enough lightI didn't note the TV for the next two but I really think they are a good example of what my Camera Manual describes as blurred vs. frozen action shots controlled by the TV mode. A slower shutter speed lets in more light and gives a blurred action shot, a cool effect if that is desired (would be a better pic if her head was turned!)And the faster shutter speed lets in less light and I got more of a frozen action shot, much more crisp detail in this picture.Ok, that is it for TV for now...I will continue to play but moving on to Day 4 - ISO (I don't remember studying this in college photography at all, although I'm sure we did, so I'm eager to learn :)
Sunday, May 1, 2011
Day 3 - Shutter Speed
So the first mode we're working on is shutter speed or on my camera - TV. The TV means time value, and it controls the amount of time the shutter is open and therefore, the amount of light allowed into the photo. I spent some time last night turning the dial and figuring out the range of time value (250 = fast, less light and 1" = slow, more light).
Today was Adam's soccer game where I am the coach and therefore, Andrew gets to be the default photographer. I learned a lesson today...return the camera to "Auto" mode after playing with new settings otherwise your husband will take pictures like this of the entire first quarter: Don't see anything? That's because the shutter speed was way too slow for such bright outdoors and the picture ended up way overexposed. See what we're learning :) Fortunately, he realized it wasn't working and I was able to easily turn the mode dial back to the happy and easy automatic green square for him at the quarter break. He then took a handful of fun photos...
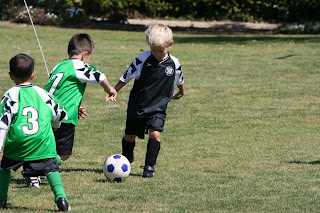 I plan to take some pictures myself tomorrow with different shutter speeds to play and learn some more...
Today was Adam's soccer game where I am the coach and therefore, Andrew gets to be the default photographer. I learned a lesson today...return the camera to "Auto" mode after playing with new settings otherwise your husband will take pictures like this of the entire first quarter:
Don't see anything? That's because the shutter speed was way too slow for such bright outdoors and the picture ended up way overexposed. See what we're learning :) Fortunately, he realized it wasn't working and I was able to easily turn the mode dial back to the happy and easy automatic green square for him at the quarter break. He then took a handful of fun photos...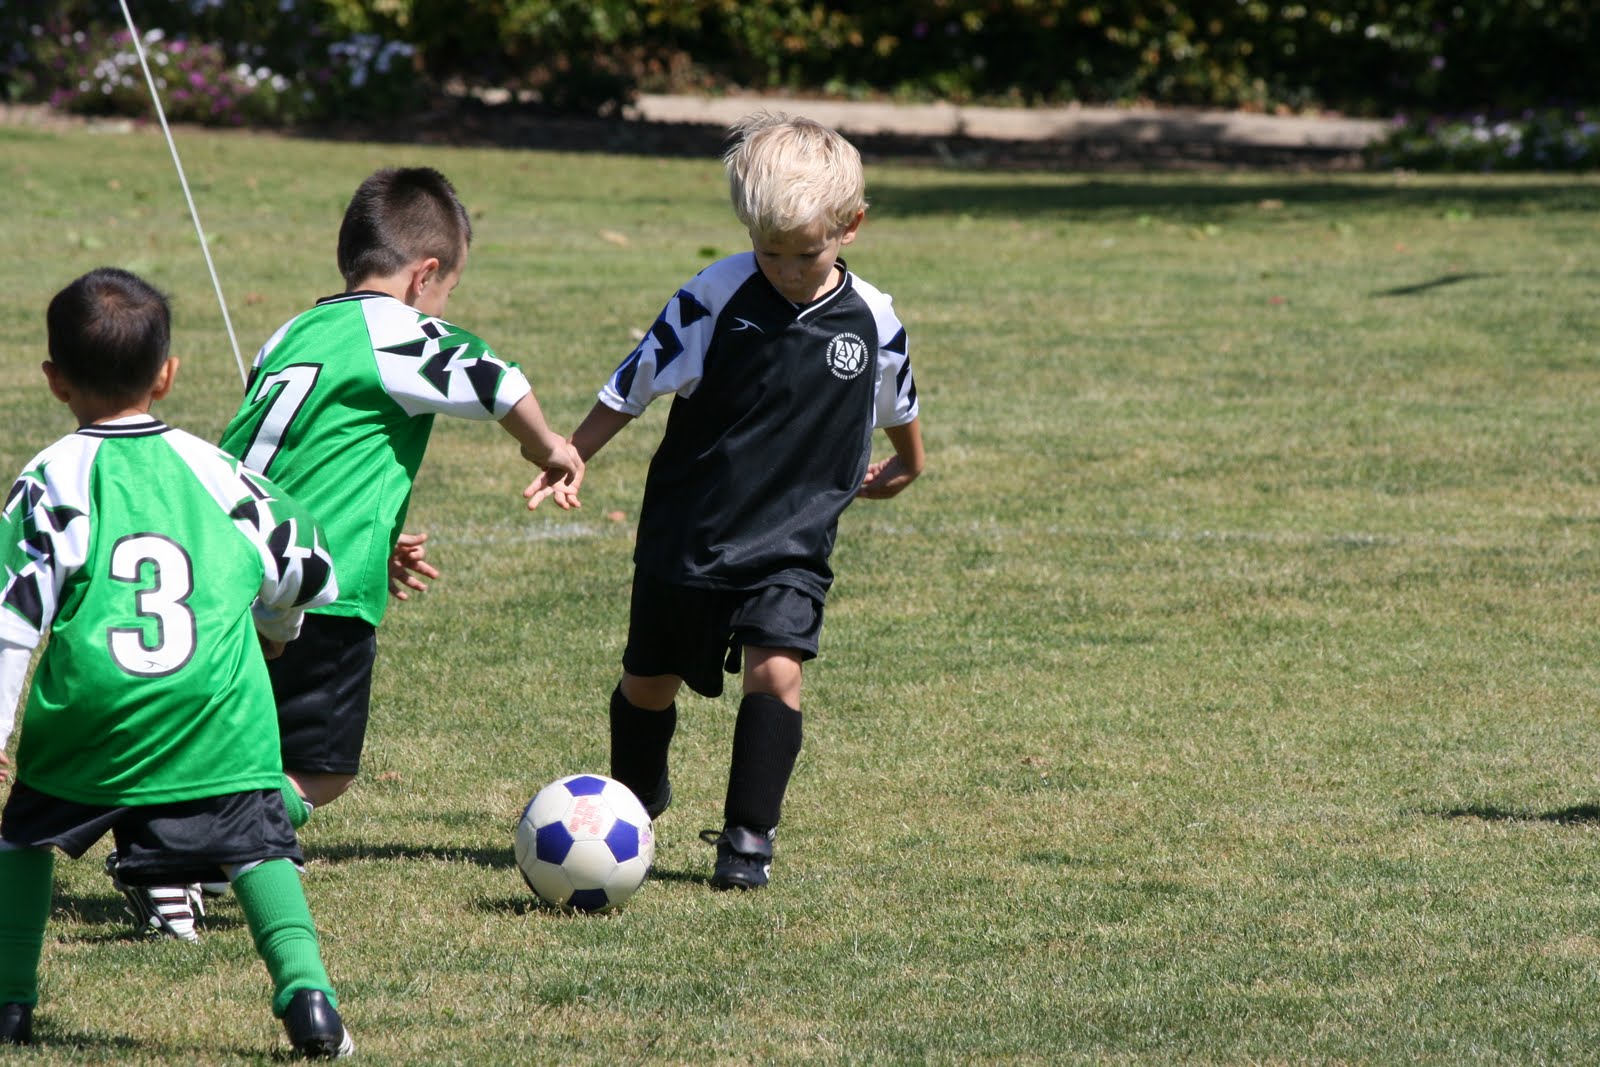 I plan to take some pictures myself tomorrow with different shutter speeds to play and learn some more...
Thursday, April 28, 2011
Day 2 - Read your camera manual
Ok, this seems boring and lame but hey, if you don't know what all those buttons and settings and dials can do then you will have no clue what your camera is capable of...this also requires you to find your camera manual and take the time to plow through it. This is why Day 2 is days after Day 1 :)
Here it is...
 All 179 pages of it (and it's all in English!)
 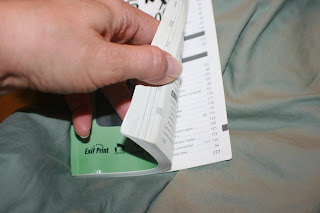 But I'm reading it. I'm reading it all. I am really excited to be learning (and mostly relearning as I took photography in college...was that really 18 years ago??? No wonder I need to relearn it all!)
PS Do you like how I'm already experimenting...Pic 1 is no flash and Pic 2 is flash. It's not much but it's a start to experimenting and figuring it all out :)
Here it is...
All 179 pages of it (and it's all in English!) But I'm reading it. I'm reading it all. I am really excited to be learning (and mostly relearning as I took photography in college...was that really 18 years ago??? No wonder I need to relearn it all!)PS Do you like how I'm already experimenting...Pic 1 is no flash and Pic 2 is flash. It's not much but it's a start to experimenting and figuring it all out :)
Tuesday, April 26, 2011
My Beginning...31 days to a better photo
 I love taking photos. I have always loved taking photos. I take a lot of good photos. I take many, many more bad photos (yea for digital photos that can be deleted!) Here is my attempt to improve my skills...hopefully in time to take some amazing photos on vacation this summer :)
Subscribe to:
Posts (Atom)